
Outdoor Beer Dispensing: Phase I
Since most of us in the Backyard Brewing Society now keg our own beer and my pipe dream of running keg lines from inside the house to the backyard was never going to materialize, I did the next best thing: started work on an outdoor ice powered kegerator.
For years, we have used a large steel stock tank to hold beer for parties. Sometime in late winter, Zoe and Dave were talking and hatched the idea of turning the stock tank into a keg chiller/dispenser.
When it comes to summer entertaining, homebrewed kegged beer is a whole lot less expensive than making a huge beer run. Historically, the only problem with keg dispensing has been temperature control. When it's 30 degrees outside, it's pretty easy keeping the kegs cold. However, when it hits 90 in the summer, it's a whole different story.
This project is sort of a jockey box meets kegerator. Like a jockey box, ice is the primary cooling agent and like a kegerator, the keg goes inside the container.
Phase I, which I have posted here, is obviously incomplete, but totally useful even if a tad inefficient on the cooling side.
Using parts from Micro Matic, the best online source of draft beer equipment and knowledge, I obtained three taps, shanks and necessary parts. Step One involved drilling three holes into the top part of the stock tank. I figured since the holes were so high, even if the project failed, the stock tank would still be 90% usable.

From there, I hooked up the short shanks and connected the kegs.

The last step was adding my personalized tap handles.

I don't think Drew liked the pictures I picked out for his handles, even though I thought they were fairly nifty. My thought is, even if you can't read by the end of the night, you can narrow your choice down to whose face you can make out.
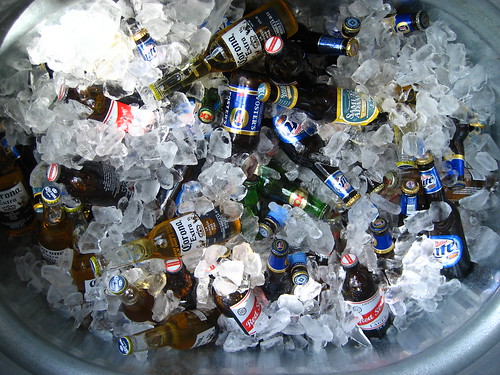
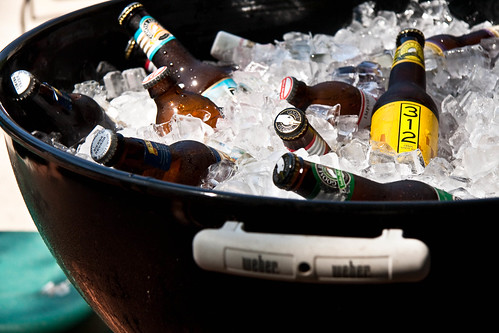
With the kegs in place and the taps hooked up, I filled up the stock tank with ice to keep the kegs cool. Now this is were Phase I ends and Phase II needs to kick in. As you can see in the picture above, my ultra hip top is a brown tarp. This is typically not the first thing you think of when you hear the words: insulated cover.
I plan on making a wood top, which will be supported by stacked 4x4s raised up from the rim of the tank. The wood across the top will make a great surface to hold cups, glasses and what not. On the underside of the top, I plan on adding some foam insulation to try and keep a little cold air in. Also, depending on how many kegs I have, I can place baffles around their bases to try and keep the ice more concentrated.

It's not exactly perfect, but it's cheap, convenient, scalable and entirely portable. It will hopefully be totally finished soon. Also, just in case we want to throw some canned or bottled beverages in the mix, I will continue to use my "wheeled" cooler now that the stock tank has a different use.
Update: Here are the parts I used. This project is scalable. You can have one tap. You can have five. How many is up to you.
1 - Shank
1 - Faucet
2 - Nuts
2 - Washers
2 - Tailpieces
Vinyl Hose, sold by the foot. Figure at least 4 feet.
To dispense the beer, you will need a CO2 cylinder and a regulator. The cylinder can be found locally at either a home brew or commercial gas supply house.
To connect to a typical US style keg, you will need a sankey tap. For a different style keg, check here.
If you want to add more than one keg, double the shank, faucet, nuts, washers, tailpieces, and hoses, and add a splitter. The only thing missing is tap handle and you find those anywhere. Good luck!