Weber Repair
Thank goodness, my replacement Weber part arrived Friday. Just in time for Mother's Day.

The first step was to remove the back side. I wasn't thrilled with having to do this. However, the four screws holding the panel on came off without a hitch. If I had really wanted to I could have made the repair from the front. Taking the back off just made it easier.

Next step, remove the gas supply line:
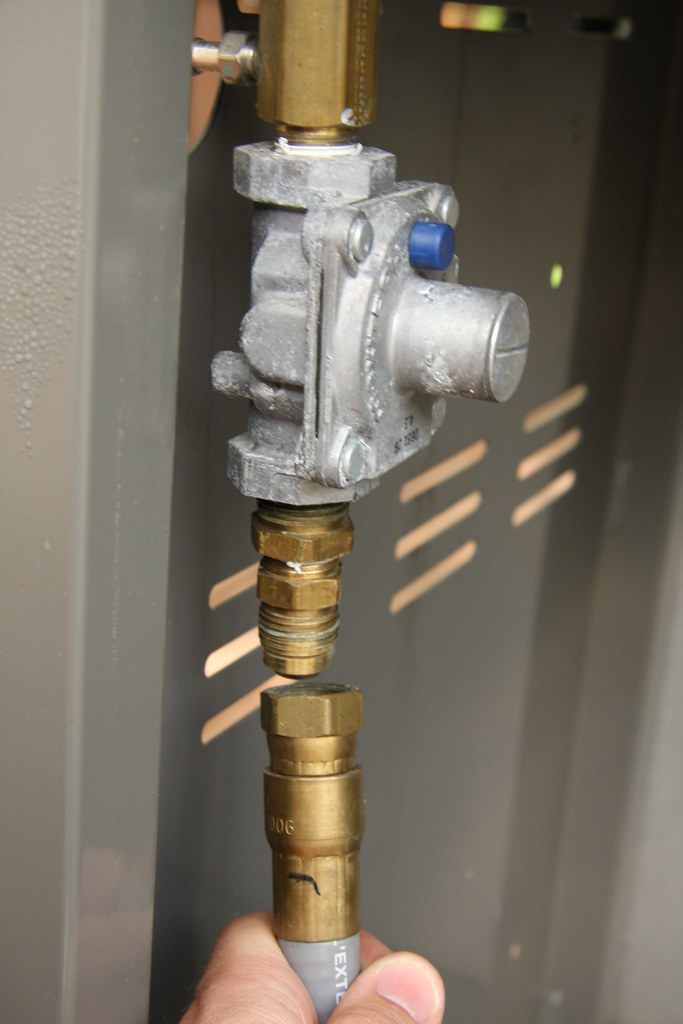
Now remove the main corrugated gas supply line:
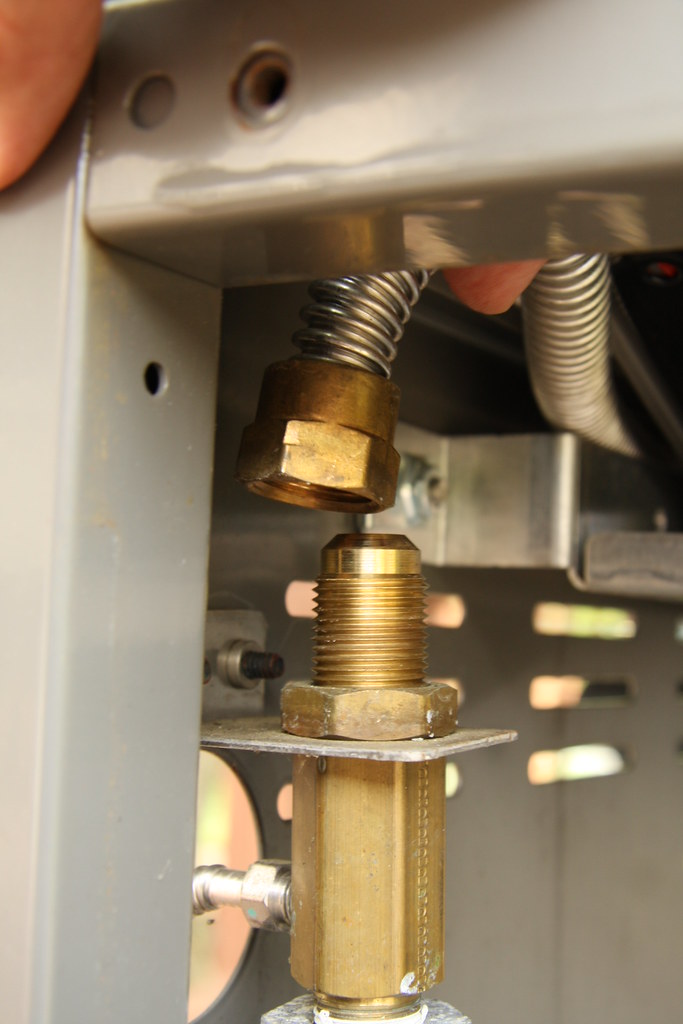
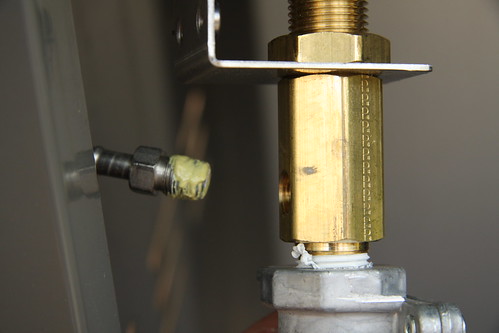
A little tricky, but remove the corrugated side burner gas supply:
Once all of the gas lines are removed, unscrew the bulkhead:

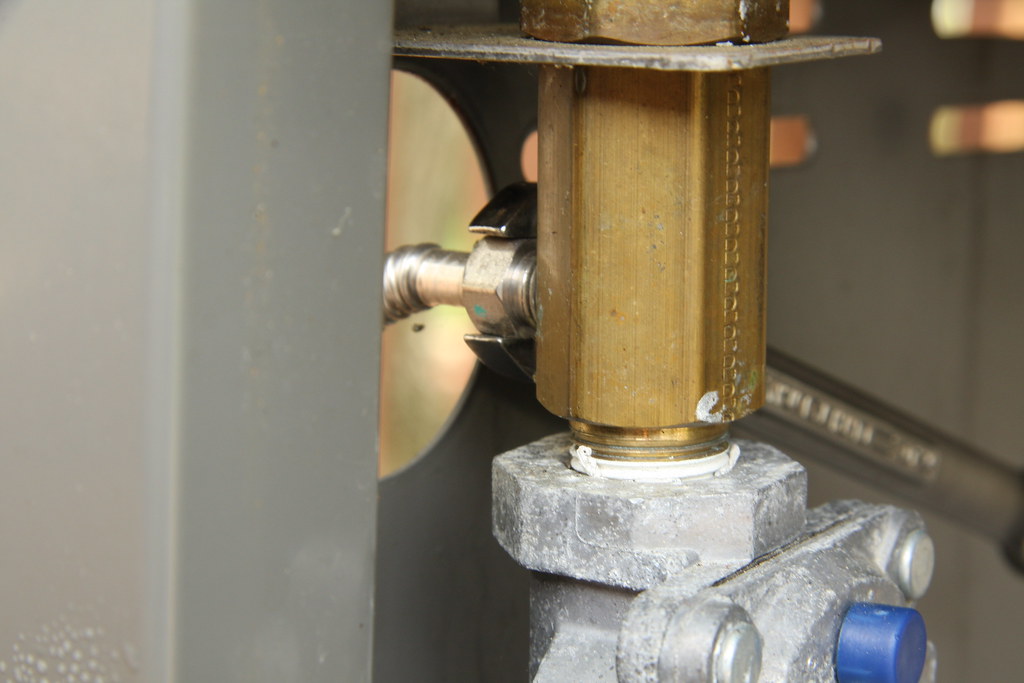
With all of the parts off, replace the bulkhead with the new one. The only deviation I took from the directions was the addition of some pipe dope on the side burner gas supply. Originally, the pipe was sealed, so I figured I had best duplicate that on the replacement.
Now that everything is back together, turn on the gas, soap the joints, and check for leaks.

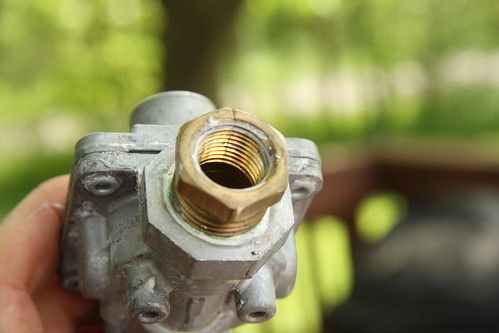
The whole process took less than fifteen minutes. Here is the damaged fitting. I am suspicious that this must have been a defective piece of brass since manufacture. Especially seeing that it was a part that was pre-connected when I initially assembled the grill. Nonetheless, catastrophe avoided and good grill times ahead!